Get started integrating Rails 4 and QuickBooks Online with the Quickeebooks Gem: Part 4 : Implementing Single Sign On.
- Part 1: Make an OAuth connection between a Rails 4 app & QBO.
- Part 2: Create a Vendor on both Rails app and QBO.
- Part 3: Disconnecting from QBO.
- Part 4: Implementing Single Sign On.
- Code presented below is also available on Github
Table of Contents
Part 4: Implementing Single Sign On for a Rails app.
- Install devise for authentication
- Add
gem 'devise'in Gemfile and runbundle install - Run
rails g devise:installon command line - Modify
config/environments/development.rb - Modify
config/routes.rbwithroot to: 'vendors#index' - Create a Devise user.
- Add sign up code to the
app/views/layouts/application.html.erb - Issue a
touch tmp/restart.txtto reload Rails. - Add the "Sign on with Intuit" button.
- Add the
omniauth-openidgem to theGemfileandbundle install. - Modify
config/initializers/devise.rbwith the following: - Modify
app/models/user/rb: - Create a new file
app/controllers/users/omniauth_callbacks_controller.rb: - Modify the Devise users route in
config/routes.rbto: - Add "Sign on with Intuit" button to
app/views/layouts/application.html.erb. - Issue a
touch tmp/restart.txtto reload Rails. - Automatically authenticate with the QBO API after signing on with Intuit.
- Since
directConnectToIntuit()will not be launched in a popup we need to modify theapp/views/vendors/close_and_redirect.html.erbview to handle this condition. - Now we are ready to sign in using Intuit.
config.action_mailer.default_url_options = { host: 'billtastic.dev' }
Billtastic::Application.routes.draw do
  resources :vendors
  resources :quickbooks do
    collection do
      get :authenticate
      get :oauth_callback
      get :disconnect
    end
  end
  root to: 'vendors#index'
end
  rails g devise user
  bundle exec rake db:migrate
  <section id="sign-in">
    <% if user_signed_in? %>
        Signed in as <strong><%= current_user.email %></strong>.
      <%= link_to 'Edit profile', edit_user_registration_path %> |
      <%= link_to "Sign out", destroy_user_session_path, method: :delete %>
    <% else %>
      <%= link_to "Sign up", new_user_registration_path %> |
      <%= link_to "Sign in", new_user_session_path %>
    <% end %>
  </section>
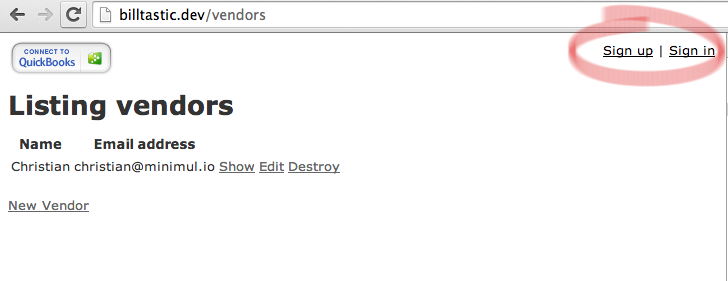
billtastic.dev/vendors
and you will see a basic sign in implementation
Note: Styling code, which is very minimal, will not be included in the tutorial. See the source instead.
require 'openid/store/filesystem'
Devise.setup do |config|
  # ommited ....
  # Insert this next line down in the Omniauth section
  config.omniauth :open_id, :store => OpenID::Store::Filesystem.new('/tmp'), :name => 'intuit', :identifier => 'https://openid.intuit.com/openid/xrds', :require => 'omniauth-openid'
class User < ActiveRecord::Base
  # Include default devise modules. Others available are:
  # :confirmable, :lockable, :timeoutable and :omniauthable
  devise :database_authenticatable, :registerable,
         :recoverable, :rememberable, :trackable, :validatable,
                  :omniauthable, :omniauth_providers => [:intuit]

           def self.find_for_open_id(access_token, signed_in_resource=nil)
             data = access_token.info
             if user = User.where(:email => data["email"]).first
               user
             else
               User.create!(:email => data["email"], :password => Devise.friendly_token[0,20])
             end
           end
end
class Users::OmniauthCallbacksController < Devise::OmniauthCallbacksController
  skip_before_filter :verify_authenticity_token, :only => [:intuit]

  def intuit
    @user = User.find_for_open_id(request.env["omniauth.auth"], current_user)

    if @user.persisted?
      flash[:notice] = I18n.t "devise.omniauth_callbacks.success", :kind => "Intuit"
      sign_in_and_redirect @user, :event => :authentication
    else
      session["devise.intuit_data"] = request.env["omniauth.auth"]
      redirect_to new_user_registration_url
    end
  end
end
Billtastic::Application.routes.draw do
  devise_for :users, :controllers => { :omniauth_callbacks => "users/omniauth_callbacks" }
  # ommitted
  <!-- omitted .. -->
      <%= link_to "Sign up", new_user_registration_path %> |
      <%= link_to "Sign in", new_user_session_path %> |
      <ipp:login href="<%=
      user_omniauth_authorize_path(:intuit) %>"></ipp:login>
    <% end %>
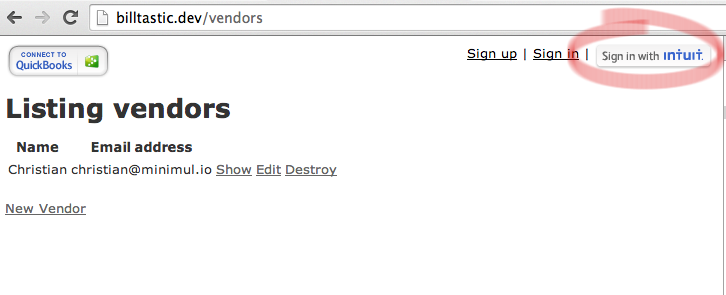
billtastic.dev/vendors
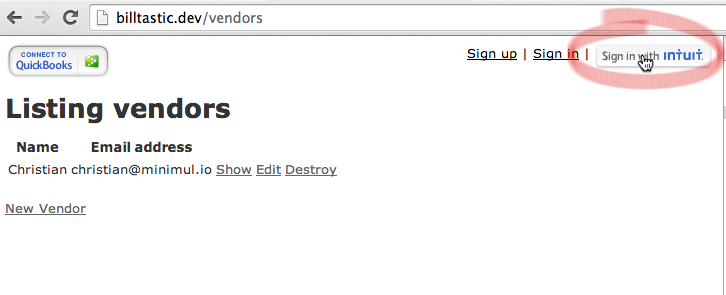
and you will now see the official Intuit Sign On button.
  <!-- app/views/layouts/application.html.erb -->
  <!-- ommited.. -->
  <script type="text/javascript" src="https://appcenter.intuit.com/Content/IA/intuit.ipp.anywhere.js"></script>
  <!-- configure the Intuit object: 'grantUrl' is a URL in your application which kicks off the flow, see below -->
  <script>
      intuit.ipp.anywhere.setup({menuProxy: '/path/to/blue-dot', grantUrl: '<%= authenticate_quickbooks_url %>'});
    <% if user_signed_in? && !session[:token] %>
        intuit.ipp.anywhere.directConnectToIntuit();
    <% end %>
  </script>
</body>
Discussion: Even though we are using Intuit's authentication to sign
into our Rails app we still need to "connect" to QuickBooks
to integrate with the QBO API. The
directConnectToIntuit() Javascript function automatically starts the API
authentication process where the connectToIntuit() requires a
user to click the button.
Note: We are simply using the Devise's
user_signed_in?
method but in a real-world implementation we would have to further
distinguish whether the login originated at Intuit.
<script>
setTimeout(function(){
    if(window.opener == null){
      window.location = '<%= @url %>';
    }else{
      window.opener.location = '<%= @url %>';
      window.close();
    }
}, 10000);
</script>
Note: If
window.opener is null then the Intuit API authentication
request is not running in a popup (as seen in Part 1).
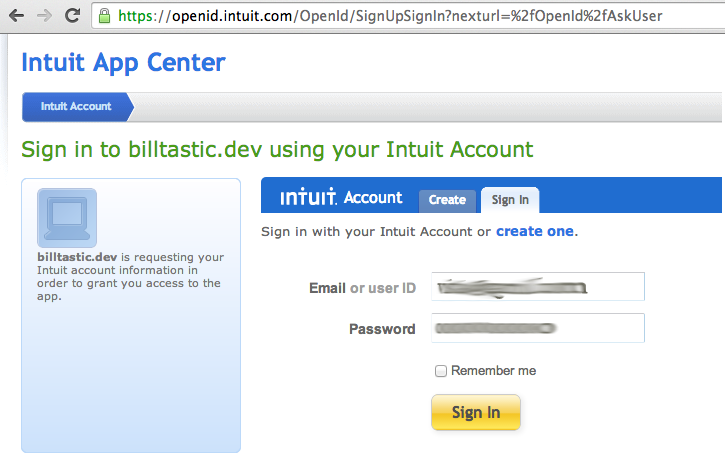
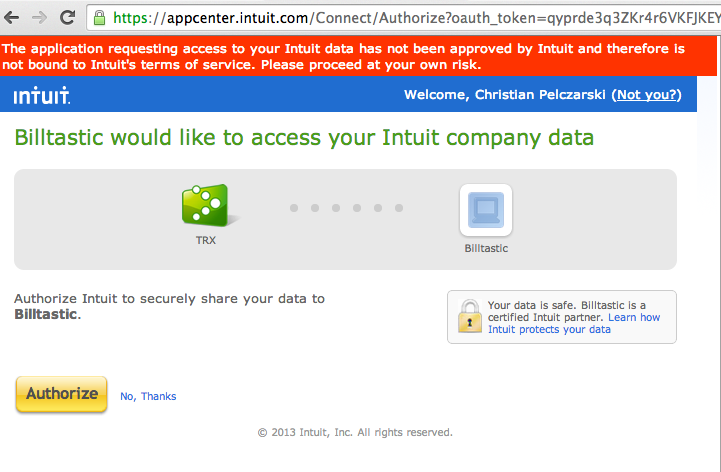
directConnectToIntuit() code will
kick in and take you to this page.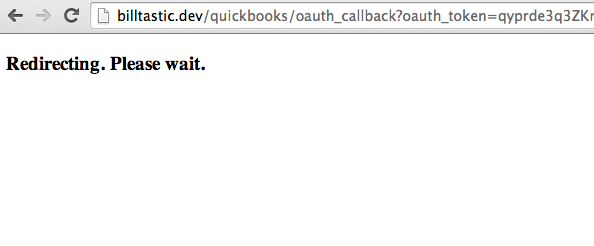
close_and_redirect.html.erb modifications from step 3 in action.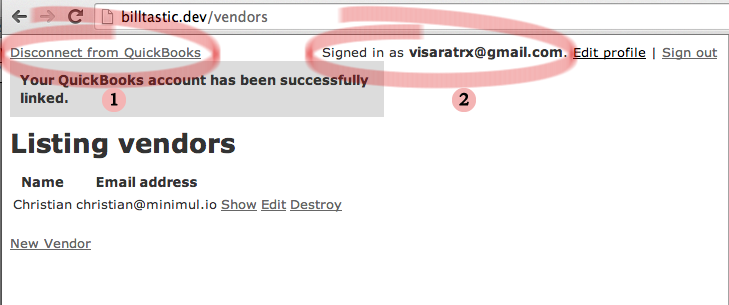
The infamous "blue dot" menu
Stay tuned to Part 5 where I will implement the Intuit blue dot menu.
- Pushed on 01/02/2014 by Christian
- QuickBooks Integration Consulting
