Get started integrating Rails 4 and QuickBooks Online with the Quickeebooks Gem: Part 1
- Part 1: Make an OAuth connection between a Rails 4 app & QBO.
- Part 2: Create a Vendor on both Rails and QBO.
- Part 3: Disconnecting from QBO.
- Part 4: Implementing Single Sign On.
- Code presented below is also available on Github
Table of Contents
IMPORTANT: Tutorial uses
Rails 4, Ruby 1.9.3, and Pow(hence OSX). Adapt for your ecosystem.
Part 1 aim
Perform all the steps necessary to make an OAuth connection from a Rails 4 app (called Billtastic) to your QuickBooks Online (QBO) Account.
- Join the Intuit Partner Platform
- Create a new app.
- Create a new Rails app and hook it up with Pow.
- Add the quickeebooks and oauth-plugin gems to the Gemfile and run
bundle install. - Generate Vendor scaffolding
- Create a new YAML config file called
config/quickbooks.yml: - Create
config/initializers/quickeebooks.rb. - Add the following routes to
config/routes.rb. - Add the actions
app/controllers/vendors_controller.rbfor the routes we added in the previous step. - Add Intuit Connect button code to application layout on
app/view/layouts/application.html.erb. - Reload with a
touch tmp/restart.txt. - Let's take a look. Navigate your browser to
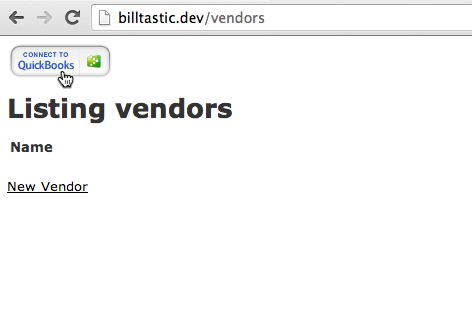
billtastic.dev/vendorsand you should see this: - Create
app/views/vendors/close_and_redirect.html.erbto handle the redirect from QuickBooks. - Go back to the browser on
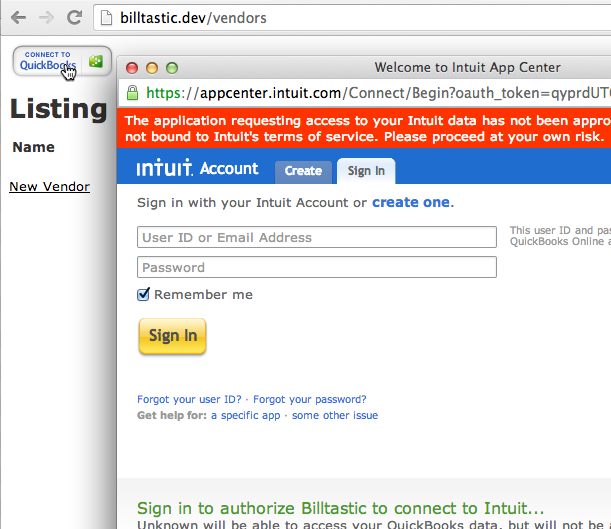
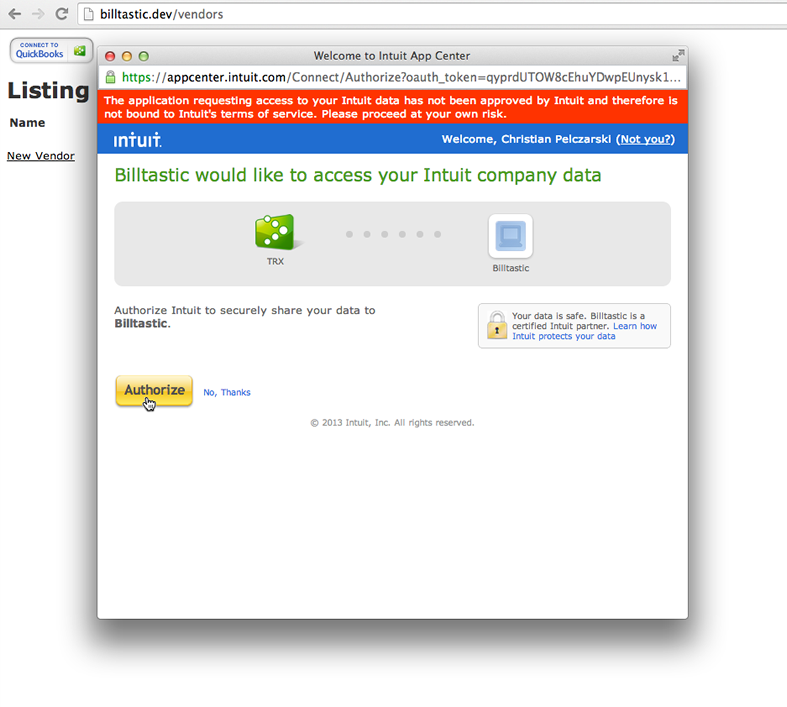
billtastic.dev/vendors, click on the 'Connect with QuickBooks' button, and sign in - After a successful authentication, Intuit will return a GET request to the
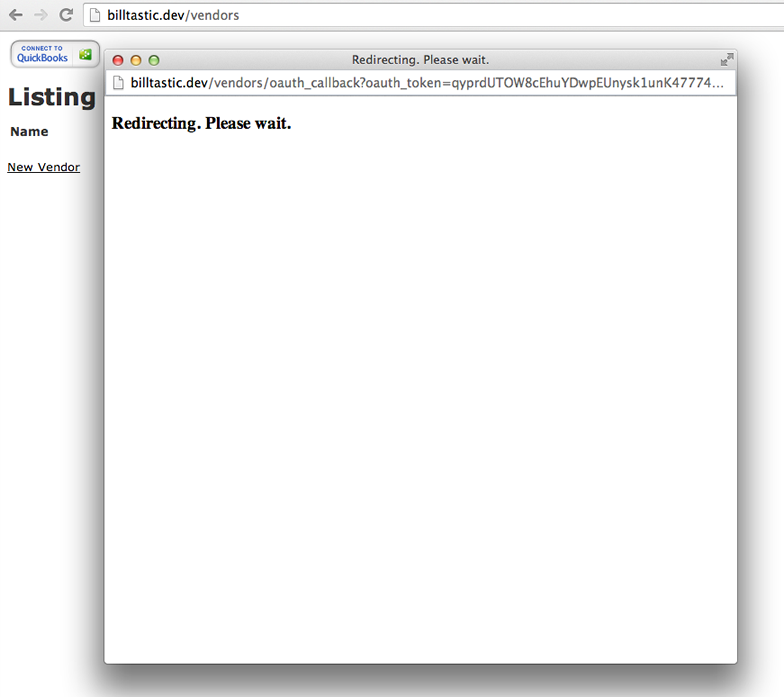
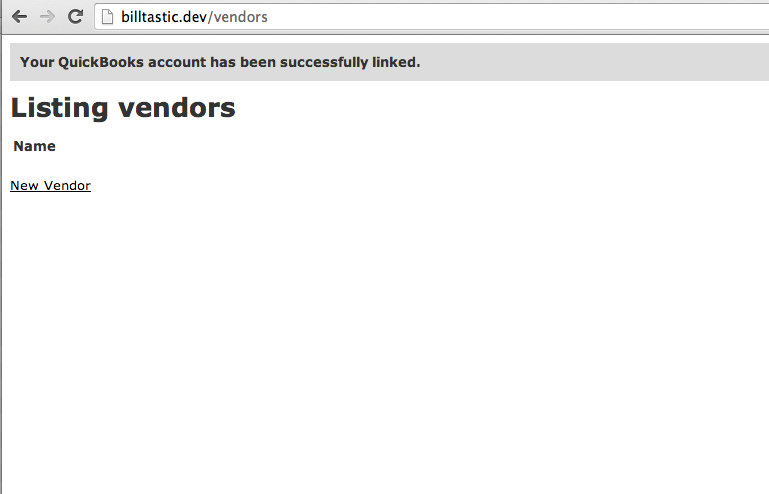
/vendors/oauth_callback. Again, see theoauth_callbackaction in step 9 to see what is going on. - Lastly, let's double check that the QBO connection was indeed successful. Go to QBO, login, and navigate to the 'Company' tab and then to the 'Activity Log' submenu.
DISCUSSION: I am going to assume you have a QBO account, which you can use your existing QBO username and password to join as a developer. If you are a developer and want to have a sandbox account then email Intuit @
ippdevelopersupport@intuit.com and request a developer subscription to QBO Plus.
After joining you will be asked to confirm your email. Even after confirming, you may continue to receive an error stating that you haven't confirmed. To get past this, log on and then off again.

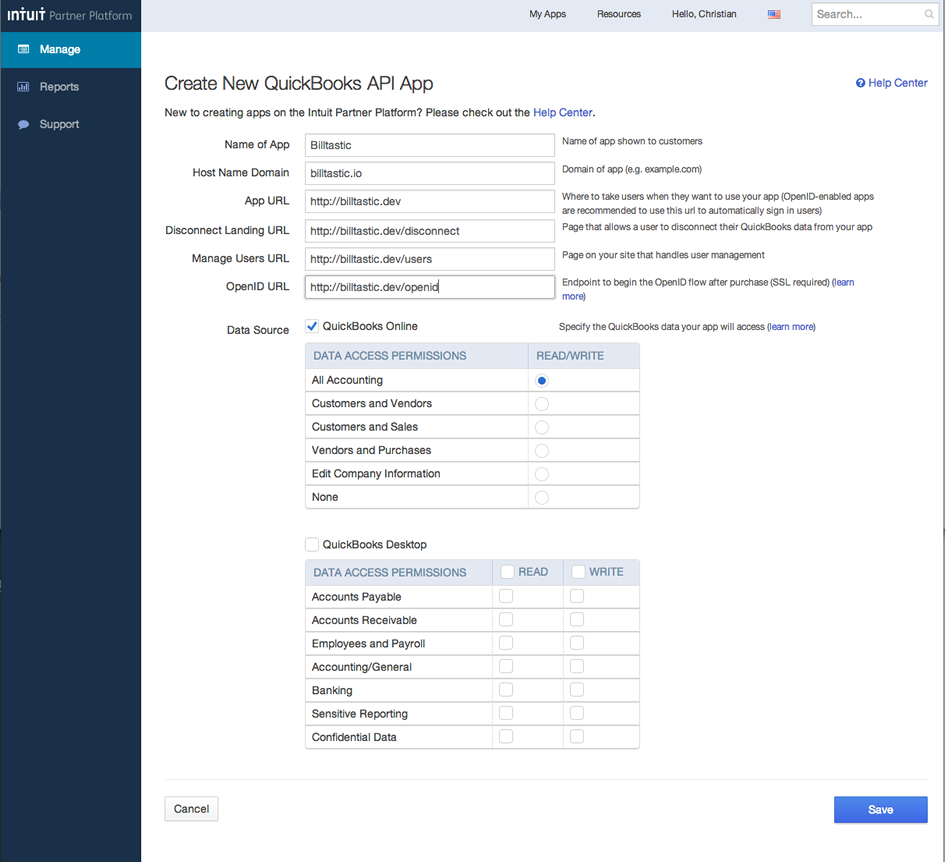
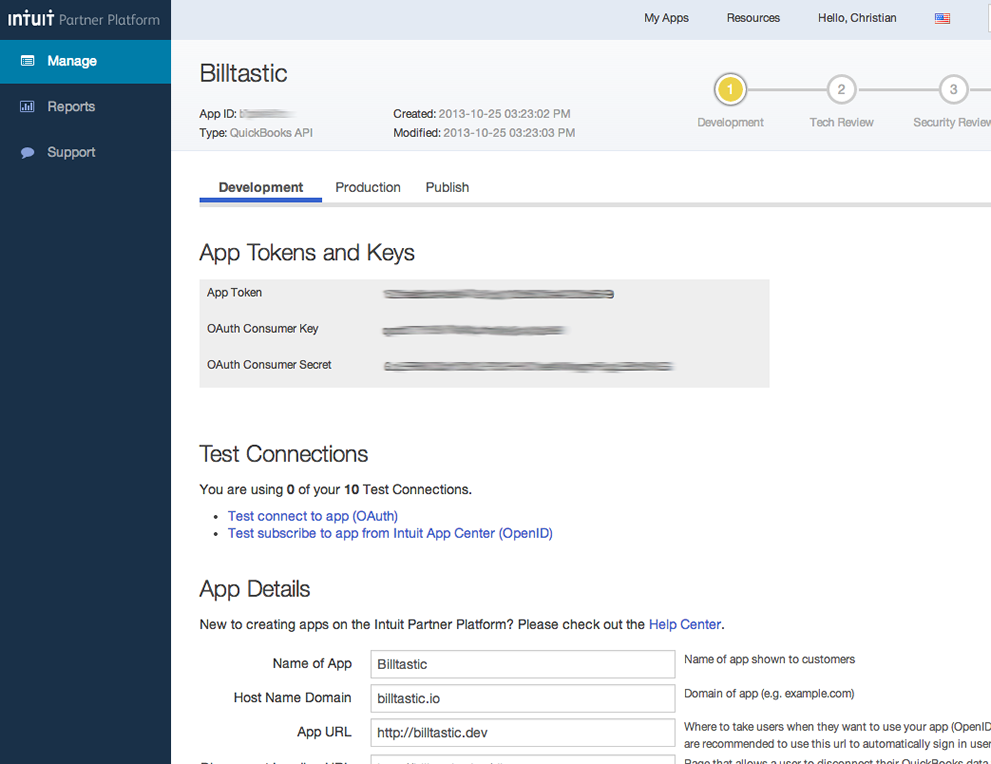
consumer key and secret need to be added to the Rails app, which is down in step 6.$ cd ~/www/labs # My experimental area $ rails new billtastic $ ln -s ~/www/labs/billtastic ~/.pow # Hook up Pow $ curl -L billtastic.dev | grep "Welcome" # Test hook up
# Edit the Gemfile and add these two gems:
gem 'quickeebooks'
gem 'oauth-plugin'
$ bundle install
$ rails g scaffold Vendor name
$ rake db:migrate
DISCUSSION: In Part 2 a Vendor will be created in both Rails & QBO but for now we are going to piggyback on the Vendor scaffolding view code to do the authentication.
# The values here are just examples. Cut and paste the values that were generated in Step 2. See Fig. 3
key: qshfas789asfa98fafdafaff
secret: FFasfafs435345FAADFGAGA452345345afdfaffasdfaf
QB_CREDS = YAML.load(File.read(File.expand_path('./config/quickbooks.yml', Rails.root)))

$qb_oauth_consumer = OAuth::Consumer.new(QB_CREDS['key'], QB_CREDS['secret'], {
  site:                "https://oauth.intuit.com",
  request_token_path:  "/oauth/v1/get_request_token",
  authorize_url:       "https://appcenter.intuit.com/Connect/Begin",
  access_token_path:   "/oauth/v1/get_access_token"
})
Billtastic::Application.routes.draw do
  resources :vendors do
    collection do
      get :authenticate
      get :oauth_callback
    end
  end
end
  # app/controllers/vendors_controller.rb
  # .. code omitted

  def authenticate
    callback = oauth_callback_vendors_url
    token = $qb_oauth_consumer.get_request_token(:oauth_callback => callback)
    session[:qb_request_token] = token
    redirect_to("https://appcenter.intuit.com/Connect/Begin?oauth_token=#{token.token}") and return
  end

  def oauth_callback
    at = session[:qb_request_token].get_access_token(:oauth_verifier => params[:oauth_verifier])
    session[:token] = at.token
    session[:secret] = at.secret
    session[:realm_id] = params['realmId']
    flash.notice = "Your QuickBooks account has been successfully linked."
    @msg = 'Redirecting. Please wait.'
    @url = vendors_path
    render 'close_and_redirect', layout: false
  end

  private
  # .. code omitted
DISCUSSION: In a real app you will persist the token, secret & RealmID to the database for a user. Those 3 items are needed to communicate with QBO. For convenience, sessions are being used for persistence in this tutorial.
  .. omitted
  <body>
    <!-- REPLACE THE BODY of the default application.html.erb with this -->

    <% unless session[:token] %>
      <ipp:connectToIntuit></ipp:connectToIntuit>
    <% end %>

    <% if notice %>
      <div style="padding: 10px;background: gainsboro;font-weight: 900;width: 50%;"><%= notice %></div>
    <% end %>

    <%= yield %>

    <script type="text/javascript" src="https://appcenter.intuit.com/Content/IA/intuit.ipp.anywhere.js"></script>

    <script>
        intuit.ipp.anywhere.setup({menuProxy: '/path/to/blue-dot', grantUrl: '<%= authenticate_vendors_url %>'});
    </script>
  </body>
DISCUSSION: For a tutorial it is a bit heavy handed to put this code into the application layout, however, for a production app Intuit requires that their blue dot menu to be displayed on each page so you might find yourself putting Intuit scripts in the layout.
<!DOCTYPE html>
<html>
<head>
  <title><%= @msg %></title>
</head>
<body>
<h3><%= @msg %></h3>

<script>
 setTimeout(function(){ window.opener.location = '<%= @url %>'; window.close(); }, 10000);
</script>
</body>
</html>
DISCUSSION: Go back to step 9 and checkout the
oauth_callback action as it is responsible for rendering the close_and_redirect view. Also, read my article that explains this above code in more detail.

Next episode, creating an entity
In Part 2 I will dig a bit more into the Quickeebooks gem by creating a vendor on the Rails app as well as in QBO.
- Pushed on 10/31/2013 by Christian
- QuickBooks Integration Consulting
