Increased Developer Productivity with Tmux, Part 2: ~/.tmux.conf
The heart & soul of the Tmux: .tmux.conf
In Part 1 I displayed in 5 minutes some of the benefits of Tmux or the "why" of wanting to use Tmux for software development. In this installment, I want to start getting to the "how" of using Tmux. To do that I must start with configuring Tmux via the ~/.tmux.conf file.
.tmux.conf setting changes do <prefix> <colon> and type source-file ~/.tmux.conf
The .tmux.conf file in this article is located here.
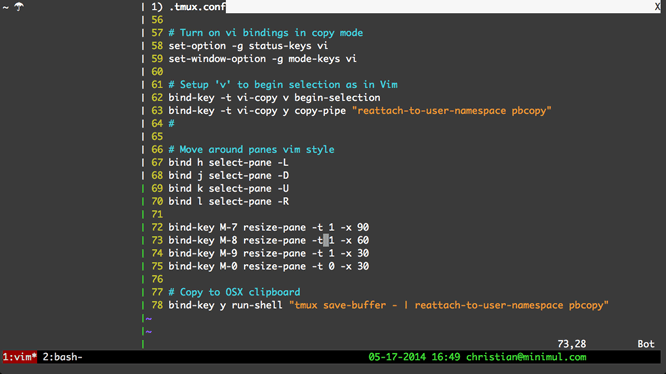
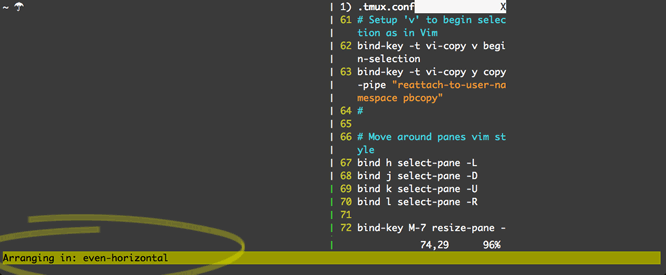
- To start I open and vertically split a Tmux window opening
~./.tmux.confwithin vim in the right pane. - I unbind the default Tmux prefix,
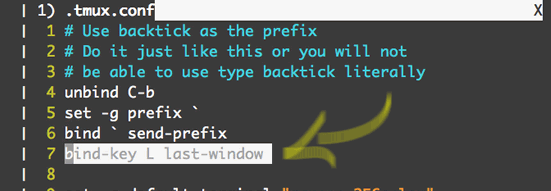
Control-b, and assign the prefix to be the backtick key`. - Next, the <prefix>-L is assigned to take one back to the last active window.
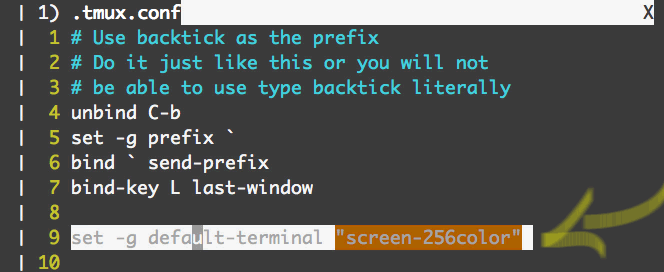
- Set for 256 colors.
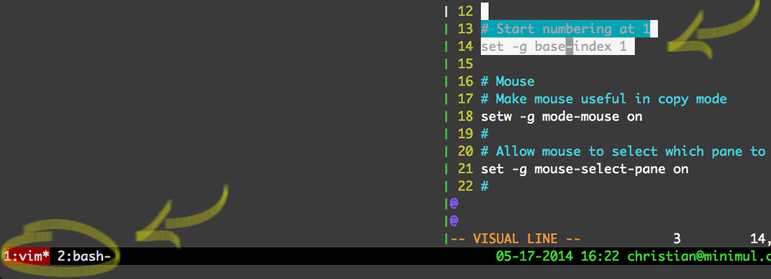
- Set window numbering to start at 1
- Enable the mouse.
- Set the scroll history
- Configure the status bar
- Set a "nested" prefix key in case you need to run a Tmux instance inside of a Tmux instance
- If you are a vimmer then you must turn on vim bindings when in copy mode.
- Set up copying to the system clipboard
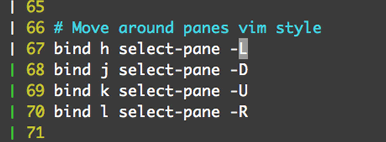
- More vim-related settings this time map vim movement keys for moving around window panes.
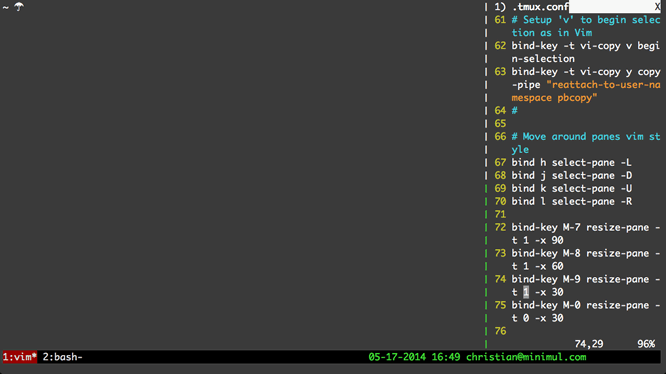
- Next, are my mappings for resizing vertically split panes.
- For example, <prefix>-M-7 makes the
-t 1pane (or target pane 1 or the right pane) 90 lines of width. - <prefix>-M-9 reverses the M-7 view
- <prefix>-M-1 is a Tmux built-in binding and will even up the vertical panes.
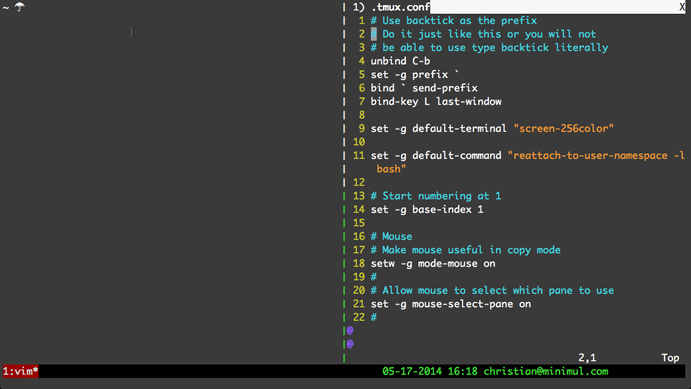
~/.tmux.conf file.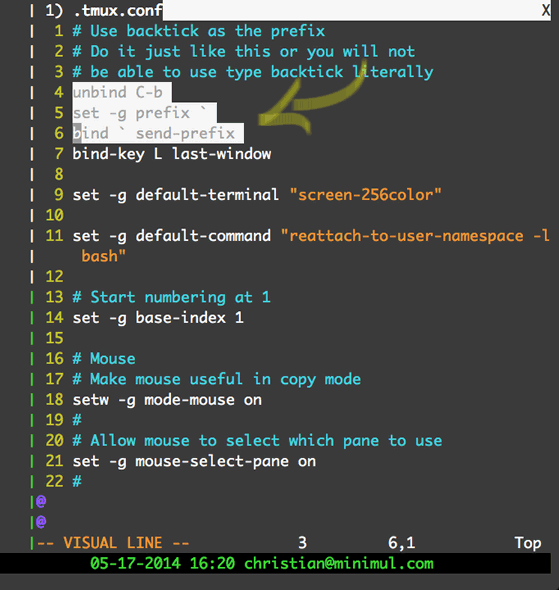
` character when desired. To type the ` character you hit the backtick key twice.
Control-b. To hit Control-b all the time is cumbersome so I assign just a single key as the prefix.
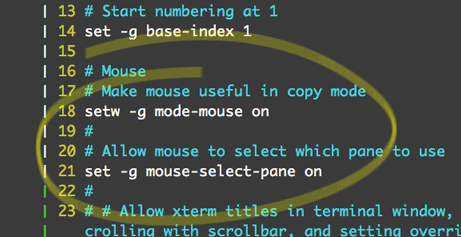
I don't use the mouse much at this stage but from time to time I do for a simple clipboard copy. If you are getting started with Tmux don't feel like you have to be mouse-free right away. Use the mouse or other touch device liberally so as not to take too much of a productivity hit while learning. Over time you will use the keyboard for almost everything console related.
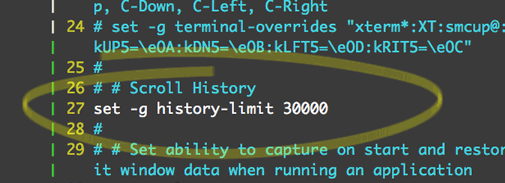
30000 setting has worked well for me. Don't set this too low underestimating the large output of data files and stack traces.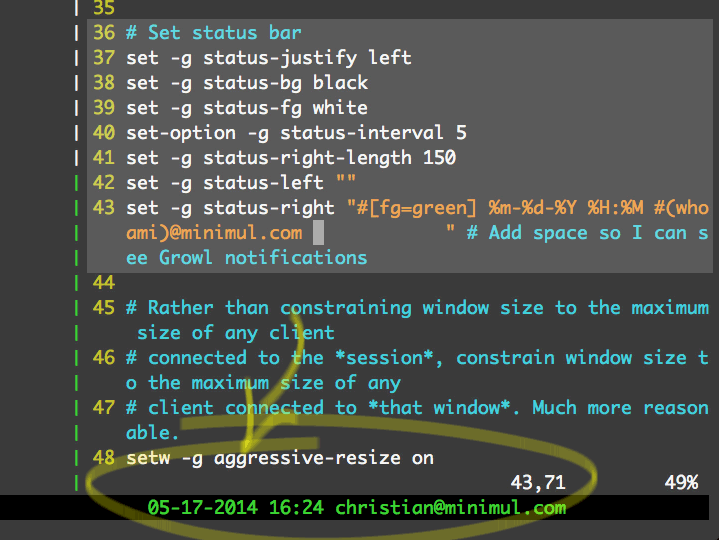

<prefix>-a first.


That concludes installment 2. The .tmux.conf file
Customizing Tmux is a must for increasing your productivity with the tool. My .tmux.conf is a good starting point but study what others are putting in theirs. Keep sharpening your Tmux "chainsaw" but making note of commands you run often that don't have customized shortcuts and add them. Remove bindings and configurations that in the end you don't really use, keeping the file purposeful. Stay tuned for Part 3, which I will explain Tmux sessions. While you are waiting for the article check out the screencast that is already baked.
If you like this article and screencast go to the dedicated page for this series at http://minimul.com/teaches/tmux.
- Pushed on 05/27/2014 by Christian
