Getting started with Nodejs and QuickBooks Online Part 1
A Great tech stack and NPM package
Michael Cohen has written a full-featured NPM package for QuickBooks Online integration called node-quickbooks. Nodejs is merging with Iojs and will continue its march as a formidable tech stack. What's great about Node is its robust NPM ecosystem. Since Node is relatively new the NPM packages are fresh and generally constructed with modern best practices. In the case of node-quickbooks it has full support for JSON, which Intuit has blessed as its primary data format for API version 3. This is something of a challenge for other libraries such as quickbooks-ruby and quickbooks-php, which are primary XML based. With all of those bonus points, let's investigate getting up and running with some basic integration.
- Clone either your fork or the main repo, switch into it, and make sure to run
npm installin both the root and in theexampledirectory. - Run
tree -I "node_modules|build" - While still in the
exampledirectory fire up the example app. You can simplynode app.jsbut do yourself a favor and usenodemoninstead. - Next open up
example/app.jsand notice the/startroute - Right above that code are variables for
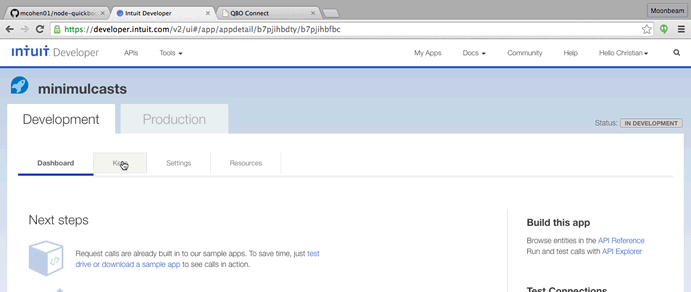
CONSUMER_KEYandCONSUMER_SECRET. These values are from an "Intuit app". You must make an QuickBooks app with Intuit if you want to integrate with the Online API. - Goto https://developer.intuit.com, sign up, and login.
- Once logged in hit the "Create a new app" button.
- Follow the steps and then grab the consumer key and secret.
- Plug these values into
app.js - Also open update
views/index.ejsand turn off the payments API if you didn't enable it when you created the Intuit QuickBooks app. - Go back to
http://localhost:3000/startand click on "Connect to QuickBooks". - Finish the the 3-legged OAuth.
- After OAuth you will be returned the
/startpage. - Go back to the console where you are running the
nodemon app.jsyou should see the following output. - You can see from
app.jsstarting at line 78 what the actually find code is.
$ git clone git@github.com:mcohen01/node-quickbooks.git
$ cd node-quickbooks
$ npm install
$ cd example
$ npm install
$ cd ..
$ tree -I "node_modules|build"
.
├── README.md
├── config.js
├── example
│   ├── app.js
│   ├── package.json
│   └── views
│       └── intuit.ejs
├── index.js
├── package.json
└── test
    ├── batch.js
    ├── cdc.js
    ├── charge.js
    └── index.js
All of the integration code is in index.js. We are mostly going to be working within the example directory.
  $ pwd
  $ ../node-quickbooks/example
  $ nodemon app.js
[nodemon] v1.4.1
[nodemon] to restart at any time, enter `rs`
[nodemon] watching: *.*
[nodemon] starting `node app app.js`
Express server listening on port 3000
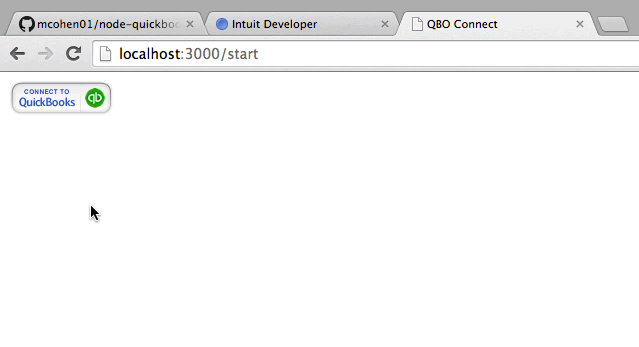
http://localhost:3000/start and you will see a bare-bones page with the "Connect to QuickBooks" Button
app.get('/start', function(req, res) {
  res.render('intuit.ejs', {locals: {port:port, appCenter: QuickBooks.APP_CENTER_BASE}})
})
var consumerKey    = 'aqerba34524sfasfdfafdadfasdf',
    consumerSecret = '52345adfa4qoxouagfaouasfdsy3422'
// Or the more "proper" way is to pass in as ENV variables
var consumerKey    = process.env.MINIMULCASTS_CONSUMER_KEY,
    consumerSecret = process.env.MINIMULCASTS_CONSUMER_SECRET
intuit.ipp.anywhere.setup({
  grantUrl: 'http://localhost:' + <%= port %> + '/requestToken',
  datasources: {
    quickbooks : true,  // set to false if NOT using Quickbooks API
    payments : false
  }
});
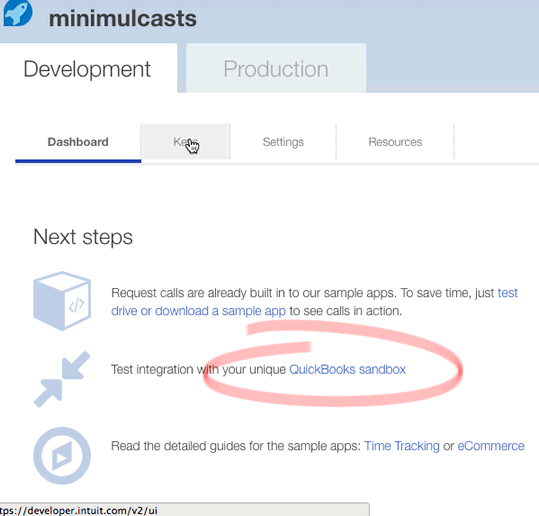
If you are prompted for a username and password supply your Intuit developer credentials created earlier. When you create an Intuit QuickBooks app you will automatically have a sandboxed QuickBooks Online client app created for your developer account, therefore, this is what you are going to be connecting to with the "Connect to QuickBooks" button.
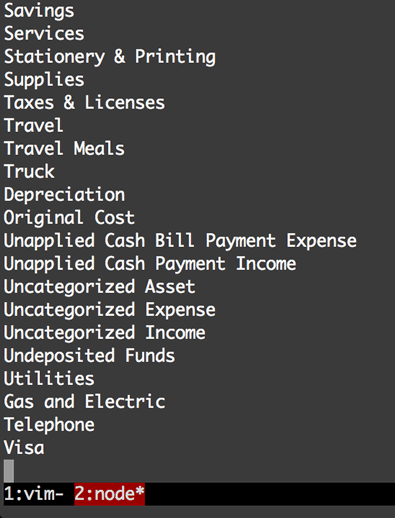
// test out account access
qbo.findAccounts(function(_, accounts) {
  accounts.QueryResponse.Account.forEach(function(account) {
    console.log(account.Name)
  })
})
Conclusion
That'll do it for part 1. In part 2 I will expand briefly on this by creating a customer route that will look up and output the QuickBooks Online customer "DisplayName". Also, reference the code for this 2-part tutorial.
- Pushed on 09/08/2015 by Christian
- QuickBooks Integration Consulting